

Sure, PhotoPOSTOS Classic Plain cards are great as is but to stimulate your creative juices (that you may or may not be aware of) try your hand at Mail Art using traditional mixed media, stamp prints, personalized stamps, found objects, etc. to create photomontages, collages, etc. Some mail artists claim that Mail Art dates back to Cleopatra.
With some help, she had herself rolled-up in a carpet and delivered to Julius Ceasar. The term Mail Art was coined in the early 1960s and has since grown into a global cultural movement which involves sending visual art (as well as music, sound art, and poetry) through while testing the patience of the postal systems around the world! http://en.wikipedia.org/wiki/Mail_art.
Originally your finished postcard was two separate pieces—a PhotoPOSTOS and your photo, and so creating clever mail art can be an interesting challenge for you while the recipient of your clever work of art will wonder how you created it. Here are some ideas.
 Embellish with eyelets or brads BEFORE you stick your photo and PhotoPOSTOS together. Embellishments with smooth edges and soft corners will reduce the chances of these items snagging as your mail art masterpiece travels through the postal system. For an added touch, these eyelets were filled with glitter glue.
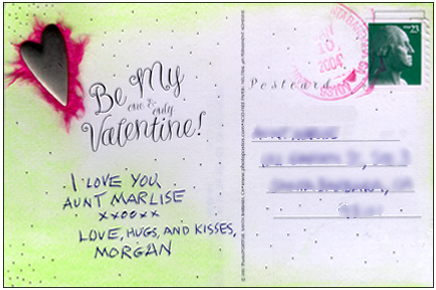
A quick and easy Valentine. After all that work (fun), increase the chances of your postcard arriving at its destination, and in one piece by choosing embellishments with smooth edges and roundish corners.
Emboss your message and add a few eyelets to create an effect and enhance your message.
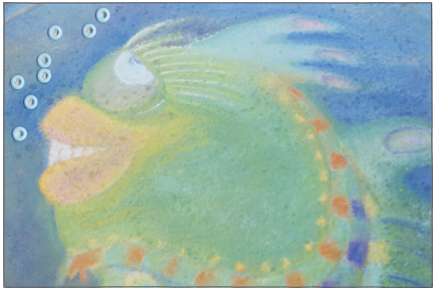
(1) Die-cut shape through PhotoPOSTOS postcard; (2) Cut out piece of decorative, thin tissue paper slightly larger than the die-cut; (3) Peel off “part” of PhotoPOSTOS backing to expose adhesive surrounding cut-out shape (this exposed adhesive will keep the decorative paper in place during Step 6; (4) Stick decorative paper behind die-cut opening; (5) Slip short pieces of thin yellow twine star trails into opening; (6) Adhere your decorated PhotoPOSTOS to your photo; (7) Have fun.
TIP: Die-cut a shape out of your photo and follow similar instructions.